The below simple program developed with Spring and maven configuration.
Technologies used:
1.Eclipse Indigo
2.Jdk 1.6
3.Maven 3.0.4
4.Spring 3.2.3
Note: If any image is not able to see properly, please click on that image. It will show nice visible mode.
Note: If any image is not able to see properly, please click on that image. It will show nice visible mode.
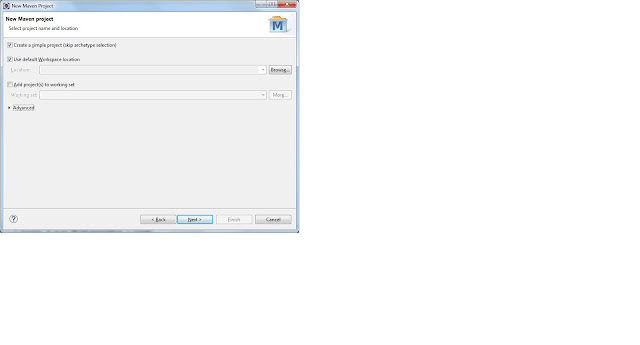
Step 1: Open eclipse, File àNew à Maven à Maven Project. Its look like below.
Step 2: Once you create maven project , select (tick) create a simple project. you will see the below in next screen.
Step 3: Click Next. You will see below in next screen. Please provide Group Id and Artifact Id which is related to maven. Its look like below.
Here I provided,
Group Id : com.test
Artifact Id: helloworld
Group Id: It will identify your project uniquely across all your projects. It has to follow package name rules (Naming schema).
Artifact Id: Project name as artifact id for the purpose of JAR. Always put frinedly name here.
Group Id: It will identify your project uniquely across all your projects. It has to follow package name rules (Naming schema).
Artifact Id: Project name as artifact id for the purpose of JAR. Always put frinedly name here.
Step 4: Once you click finish on above screen , the next screen will appear like below. This is your project structure now.
Step 5: Please add the below in pom.xml. Here you can add all of your dependency, properties etc.,
  4.0.0
  com.test
  helloworld
  0.0.1-SNAPSHOT


   org.springframework
   spring-core
   ${spring.version}


   org.springframework
   spring-context
   ${spring.version}


  3.2.3.RELEASE
Step 6: Once you configured pom xml, next you should add application context xml for your project bean definition. So , create one xml like below under src/main/resources.
Once xml file was created, add the below bean definitons.
Step7 : After adding application context xml, add your java class with the name of HelloService. That java class looks like below.
package com.test.helloworld;

import org.springframework.stereotype.Service;

@Service("helloWorld")
public class HelloService {

 private String name;

 public void setName(String name) {
  this.name = name;
 }

 public String sayHello() {
  return "Hello ! Spring + Maven Test by " + name;
 }
}
Note: Here @Service annotation is not mandatory, without this also program will run. But in generally, its good to add before call will go from this class to any DAO class etc.,Step 8: The above java class implemented at service layer level. So I used there @Service annotation. We can see it deeply later.
Now I need to test it, means should call above java class from HelloTest java class. The implemented class for HelloTest is below.
package com.test.helloworld;

import org.springframework.context.ApplicationContext;
import org.springframework.context.support.ClassPathXmlApplicationContext;

public class HelloTest {


 public static void main(String[] args) {

  // loading bean definitions from applicationcontext.xml
  ApplicationContext context = new ClassPathXmlApplicationContext(
    "applicationContext.xml");

  HelloService service = (HelloService) context
    .getBean("helloWorld");
  String message = service.sayHello();
  System.out.println(message);

  //set your new name
  service.setName("Setting again new name : TestHelloWorld ");
  message = service.sayHello();
  System.out.println(message);
 }
}
Step 9 : Next we should and clean and build through maven. You can directly run this application from main method of HelloTest java. Since it is a maven project, it is advice to follow through clean and install maven option .
Right click on your pom xml or on project , select Run As --> Maven Clean.
Below images will explain clearly.
Step 10 : Once maven clean done, you should build the application.
Right click on your pom xml or on project , select Run As --> Maven Install. It will build your project. The below images will explain that.
Step 11: After build your project , you able to see below screen. In case if your project have any Test class(Junit) it will refelect in console tab.
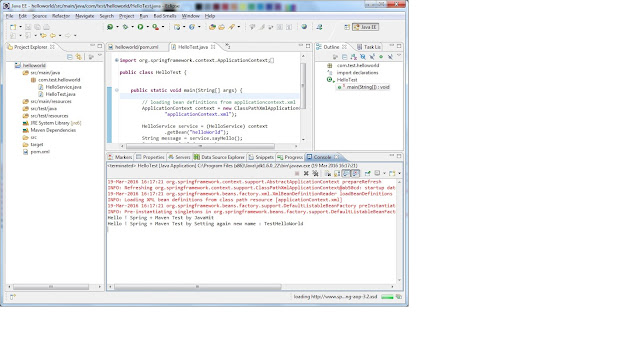
Step 12: After finishing maven clean and install, Run your application .
Right click on HelloTest program, Run As --> Java application. Below output we can see.
Please raise comment in case if you have any clarification.
Thats All. Happy learning!


No comments:
Post a Comment